
If you play pool regularly, you’ve probably experienced this: your shots start drifting, the cue feels “off,” draw shots won’t come back, follow shots stall, and side spin barely responds. When you stop to check, the cue tip is worn, misshapen, or even cracked.
It’s a shame to toss a cue you’ve finally broken in—and yet it’s unplayable in this state. The good news? You don’t need to visit a repair shop every time. Today, we’ll walk you through how to replace a pool cue tip yourself. A few simple steps, and you’ll save money, fix your cue fast, and be back at the table in minutes—even as a beginner.
Step 1: Remove the Old Cue Tip
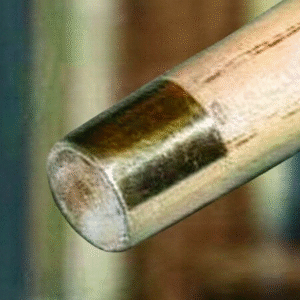
Use a tip remover tool or a sharp utility knife to cut around the edge of the old tip and pry it off the ferrule. Be careful not to damage the wooden shaft.
Once removed, sand away any leftover glue and debris until the ferrule surface is clean and level. A flat, smooth base ensures a strong bond with the new tip.
Step 2: Sand the Base of the New Tip
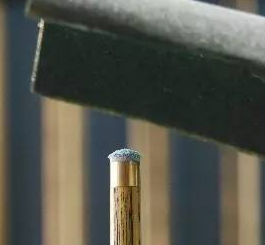
Take your new cue tip and lightly sand the flat base with fine-grit sandpaper (around 400–600 grit). This removes any factory coating and creates a slightly rough surface for better glue adhesion.
Check that the base is flat; if needed, sand it just enough so it sits flush against the ferrule.
Step 3: Apply Glue, Attach, and Press
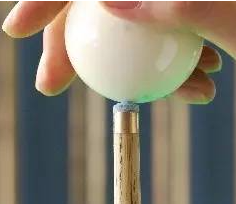
Apply a thin, even layer of cue tip adhesive (or a quality cyanoacrylate glue) to both the tip base and the ferrule.
Align the tip carefully with the center of the ferrule and press down firmly and vertically. Hold for several seconds.
Then, use a tip press or a makeshift weight (such as a heavy book or small clamp) to keep pressure on the tip for 5–10 minutes, allowing the glue to fully cure and prevent edge lifting.
Step 4: Shape and Finish the New Tip
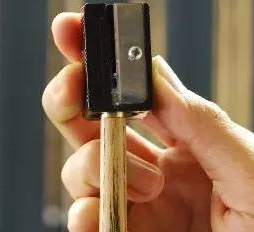
Once the glue has fully set, use a tip trimmer or sandpaper to trim the edge of the tip flush with the ferrule, removing any overhang.
Shape the top of the tip into a smooth dome using a half-round file or sandpaper—most players prefer a medium-dome profile.
Finish by applying a layer of cue chalk, and your cue is ready to play.
Pro Tips:
- Recommended replacement: every 3–6 months. For heavy use or professional play, replace every 1–3 months.
- A tip remover, press, shaper, and sandpaper are must-haves for any serious player.
- A new tip can be slick at the beginning—chalk often until it’s fully broken in.